

Introduction
Hardware troubhttps://cloudscomputer.com/category/software/leshooting tips are essential for anyone who uses a computer, laptop, or digital device in daily life. Whether you are a beginner or someone with intermediate knowledge, understanding how to diagnose and fix hardware issues can save time, money, and frustration. Many users face common problems such as slow performance, system crashes, overheating, or devices not responding, and most of these issues are linked to hardware rather than software alone.
In this guide, we will explore practical hardware troubleshooting tips that help you identify problems early and fix them effectively. You do not need to be a professional technician to understand these steps. With a little patience and the right approach, anyone can handle basic hardware issues.
These hardware troubleshooting tips will cover everything from checking physical connections to diagnosing internal components. You will also learn how to avoid common mistakes that can make problems worse. Additionally, we will discuss the importance of regular maintenance and preventive care to keep your system running smoothly.
By the end of this article, you will have a clear understanding of how to apply hardware troubleshooting tips in real-life situations. This knowledge will help you extend the life of your devices and improve overall performance without relying on expensive repairs or technical support.
What is Hardware Troubleshooting Tips?
Hardware troubleshooting tips refer to the practical methods and techniques used to identify, diagnose, and fix problems related to physical computer components. These components include the motherboard, RAM, hard drive, power supply, graphics card, and peripheral devices such as keyboards and printers.
Unlike software issues, hardware problems are usually caused by physical damage, loose connections, overheating, or wear and tear over time. Hardware troubleshooting tips help users systematically check each part of a system to find the root cause of the issue.
The process involves observation, testing, and elimination. For example, if a computer does not turn on, troubleshooting might begin by checking the power cable, then the power supply unit, and finally the motherboard. Each step helps narrow down the problem.
These hardware troubleshooting tips are important because they provide a structured way to solve issues instead of guessing. This saves time and prevents unnecessary replacement of working parts.
In simple terms, hardware troubleshooting tips are like a step-by-step guide that helps you fix computer problems by checking one part at a time until you find the faulty component.
Why is Hardware Troubleshooting Tips Important?
Hardware troubleshooting tips are important because they help users maintain the health and performance of their devices. Without proper troubleshooting knowledge, even small issues can turn into major failures.
One of the biggest reasons these tips matter is cost savings. Instead of immediately taking your device to a technician, you can identify and fix minor problems yourself. This reduces repair expenses and prevents unnecessary hardware replacement.
Another reason is time efficiency. When you understand hardware troubleshooting tips, you can quickly detect issues and apply solutions without waiting for external help. This is especially useful for students, office workers, and gamers who depend on their systems daily.
Additionally, these tips improve device lifespan. Regular troubleshooting helps detect overheating, dust buildup, or failing components early, which prevents long-term damage.
Finally, hardware troubleshooting tips increase your technical confidence. You become more independent and capable of handling unexpected issues without stress or confusion. This knowledge is valuable in both personal and professional environments.
Detailed Step-by-Step Guide
Step 1: Check Power Supply and Connections
The first step in hardware troubleshooting tips is to check the power source. Many devices fail to start due to loose or damaged power cables.
Make sure the power cable is properly connected to the system and the wall socket. If you are using a laptop, check the charger and adapter carefully. Try using another power outlet to confirm if the issue is electrical.
Step 2: Inspect External Devices
Sometimes external devices like keyboards, mice, or USB drives can cause system errors. Disconnect all external hardware and restart your system.
If the device works after removal, reconnect each device one by one to identify the faulty component. This is one of the most effective hardware troubleshooting tips for beginners.
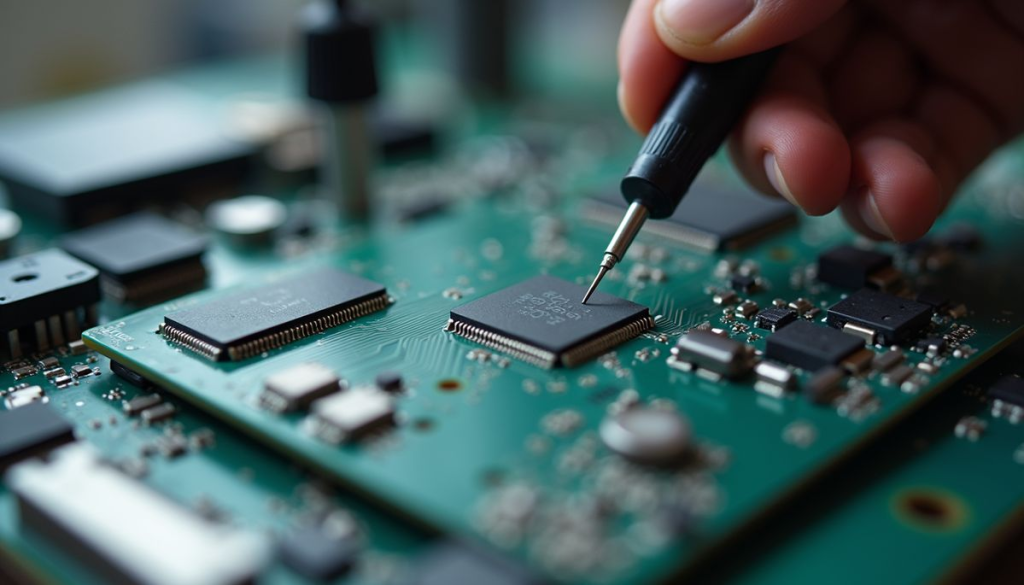
Step 3: Check Internal Components
Open the system carefully and inspect internal parts such as RAM, graphics card, and storage drives. Ensure everything is properly seated in its slot.
Loose RAM or improperly connected cables are common causes of system failure. Re-seating components often solves the issue immediately.
Step 4: Monitor Overheating Issues
Overheating is a major hardware problem. Check if fans are working properly and ensure there is no dust blocking airflow.
Clean the system regularly and use cooling pads for laptops if needed. Overheating can damage internal parts if ignored.
Step 5: Run Hardware Diagnostics
Many systems come with built-in diagnostic tools. Use these tools to test memory, storage, and CPU performance.
These tests help identify failing components quickly and accurately.
Step 6: Replace Faulty Parts
If a component is confirmed to be faulty, replacement is the final step. Always use compatible and high-quality parts to ensure system stability.
Benefits of Hardware Troubleshooting Tips
- Helps save money on unnecessary repairs
- Improves system performance and stability
- Extends the lifespan of hardware components
- Reduces downtime and productivity loss
- Increases technical knowledge and confidence
- Helps detect issues early before major failure
- Provides a structured approach to problem-solving
Disadvantages / Risks
- Risk of damaging components if handled incorrectly
- Requires basic technical knowledge and patience
- Some issues may need professional repair
- Opening devices may void warranty in some cases
- Misdiagnosis can lead to unnecessary replacements
Common Mistakes to Avoid
One common mistake is ignoring simple checks like power cables and connections. Many users immediately assume a major failure without checking basics.
Another mistake is applying too much force when handling internal components. This can damage delicate parts like RAM slots or connectors.
Users also often skip cleaning, which leads to overheating and performance issues. Dust buildup is a silent cause of many hardware failures.
Finally, many people ignore warning signs such as unusual noises, slow performance, or random shutdowns. Early action can prevent serious damage.
FAQs
1. What are basic hardware troubleshooting tips?
Basic hardware troubleshooting tips include checking power connections, inspecting cables, testing components, and cleaning internal parts to identify and fix common issues.
2. Why does my computer not turn on?
It may be due to power supply failure, loose cables, or faulty motherboard. Checking each component step by step helps identify the exact cause.
3. How often should I clean my computer hardware?
It is recommended to clean your computer every 3 to 6 months to prevent dust buildup and overheating issues.
4. Can I fix hardware problems at home?
Yes, many minor issues can be fixed at home using proper hardware troubleshooting tips, but complex problems may require professional help.
5. What tools are needed for hardware troubleshooting?
Basic tools include a screwdriver set, anti-static wrist strap, cleaning brush, and diagnostic software for testing components.
6. What is the most common hardware issue?
Overheating and loose connections are among the most common hardware problems in computers and laptops.
Expert Tips & Bonus Points
Always handle internal components with care and avoid touching sensitive circuits directly. Use anti-static precautions to prevent damage.
Keep your system updated in terms of firmware and drivers, as this can indirectly improve hardware performance.
Use surge protectors to protect your device from voltage fluctuations. This simple step can prevent serious hardware damage.
Regularly monitor system temperatures using software tools to detect overheating early.
Document any recurring issues to identify patterns and prevent future failures.
Conclusion
Hardware troubleshooting tips are essential skills for anyone who uses computers or laptops regularly. They provide a simple yet powerful way to identify and fix hardware problems without always relying on technical support.
By understanding these hardware troubleshooting tips, you can save time, reduce repair costs, and extend the life of your devices. From checking power connections to diagnosing internal components, each step plays an important role in maintaining system health.
In today’s digital world, even basic knowledge of troubleshooting can make a big difference. It helps you stay productive and reduces frustration caused by unexpected system failures.
The key is to stay patient and follow a step-by-step approach. Do not rush into replacing parts without proper testing. With regular maintenance and careful observation, most hardware issues can be prevented before they become serious.
In short, mastering hardware troubleshooting tips gives you confidence, independence, and control over your technology.